Mary Berry Cheese Straws Recipe | Easy Crispy Cheese Snack
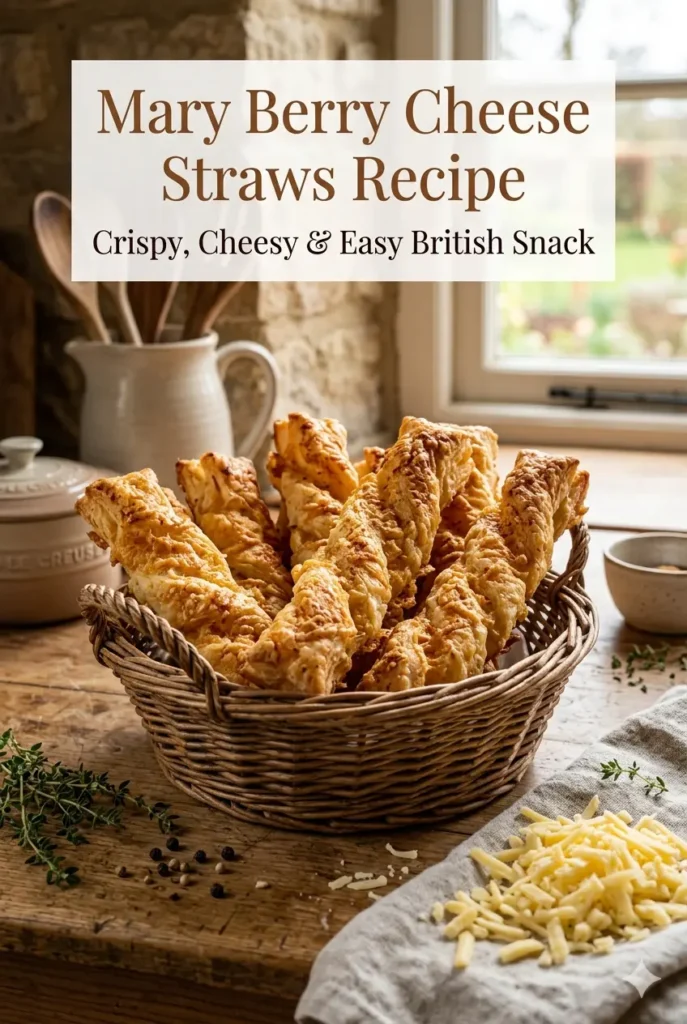
Mary Berry Cheese Straws Recipe – Easy, Crispy & Cheesy British Snack
If you love simple savoury baking, this Mary Berry cheese straws recipe is a must-try. These golden, crispy twists are packed with cheesy flavour and make the perfect snack for parties, afternoon tea, or lunch boxes.
This Mary Berry cheese straws recipe is quick, easy, and uses basic ingredients you already have at home. No complicated steps—just classic British baking with a delicious cheesy crunch.
What Are Mary Berry Cheese Straws?
Mary Berry cheese straws are a traditional British savoury snack made from cheese pastry dough, rolled, twisted, and baked until crisp and golden.
They are light, crunchy, and full of cheesy flavour. Perfect for serving with drinks, soups, or as a party appetiser, they are one of the simplest but tastiest bakes you can make.
Why You’ll Love This Recipe
This Mary Berry cheese straws recipe is popular because:
- Quick and easy to make
- Uses simple pantry ingredients
- Crispy, cheesy, and delicious
- Perfect for parties and gatherings
- Great for kids and beginners
- Bakes in under 20 minutes
Once you try them, they will become a regular snack in your home.
Essential Ingredients for Mary Berry Cheese Straws
You will need:
- 175g plain flour
- 100g cold butter (cubed)
- 100g mature cheddar cheese (grated)
- 1 egg yolk
- 1–2 tbsp cold water
- ½ tsp salt
- Pinch of paprika or cayenne pepper (optional)
These simple ingredients create a rich, cheesy pastry with a perfect crunch.
Kitchen Equipment You’ll Need
- Mixing bowl
- Rolling pin
- Baking tray
- Baking paper
- Sharp knife or pastry cutter
- Pastry brush (optional)
Step-by-Step Guide to Making Mary Berry Cheese Straws
Step 1: Prepare the oven
Preheat oven to 200°C (180°C fan) and line a baking tray.
Step 2: Make the dough
Mix flour and salt in a bowl. Rub in cold butter until it looks like breadcrumbs.
Step 3: Add cheese
Stir in grated cheddar until evenly combined.
Step 4: Bind the dough
Add egg yolk and a little cold water. Mix until a soft dough forms.
Step 5: Roll and cut
Roll out the dough into a rectangle about 5mm thick. Cut into strips.
Step 6: Twist
Twist each strip gently to create the classic cheese straw shape.
Step 7: Bake
Place on tray and bake for 10–15 minutes until golden and crispy.

Common Mistakes and How to Avoid Them
To get perfect results in this Mary Berry cheese straws recipe, avoid:
- Using warm butter (makes dough greasy)
- Overworking the dough (makes straws tough)
- Rolling too thick (won’t crisp properly)
- Overbaking (can burn quickly)
Keep everything light and cool for best results.
Healthier Version of Cheese Straws
You can make a lighter version by:
- Using reduced-fat cheese
- Replacing half butter with light spread
- Using wholemeal flour
- Reducing salt slightly
They will still taste great but be a bit lighter.
Ingredient Substitutions
Try these swaps:
- Cheddar → Parmesan or Red Leicester
- Plain flour → Gluten-free flour mix
- Butter → Baking spread
- Paprika → Mustard powder or black pepper
What to Serve with Cheese Straws
These crispy snacks go perfectly with:
- Soups (tomato, leek, vegetable)
- Afternoon tea spreads
- Cheese boards
- Party dips
- Drinks and cocktails
They are great for any occasion.
Expert Tips for Perfect Cheese Straws
- Keep butter cold for flaky texture
- Chill dough before baking if soft
- Use strong mature cheddar for best flavour
- Twist gently to avoid breaking
- Bake until just golden for crispiness
These tips make your Mary Berry cheese straws recipe perfect every time.
Fun Variations to Try
You can easily customise them:
- Add chilli flakes for spice
- Sprinkle sesame seeds on top
- Mix in herbs like rosemary or thyme
- Use different cheeses
- Add garlic powder for extra flavour
How to Store and Freeze Cheese Straws
- Store in airtight container for 2–3 days
- Reheat in oven for crispiness
- Freeze unbaked dough for later use
- Freeze baked straws for up to 1 month
Final Thoughts on Mary Berry Cheese Straws
This Mary Berry cheese straws recipe is a simple, tasty, and classic British snack that anyone can make. Crispy, cheesy, and full of flavour, they are perfect for parties, tea time, or everyday snacking.
Once you try them fresh from the oven, you’ll never want shop-bought snacks again.