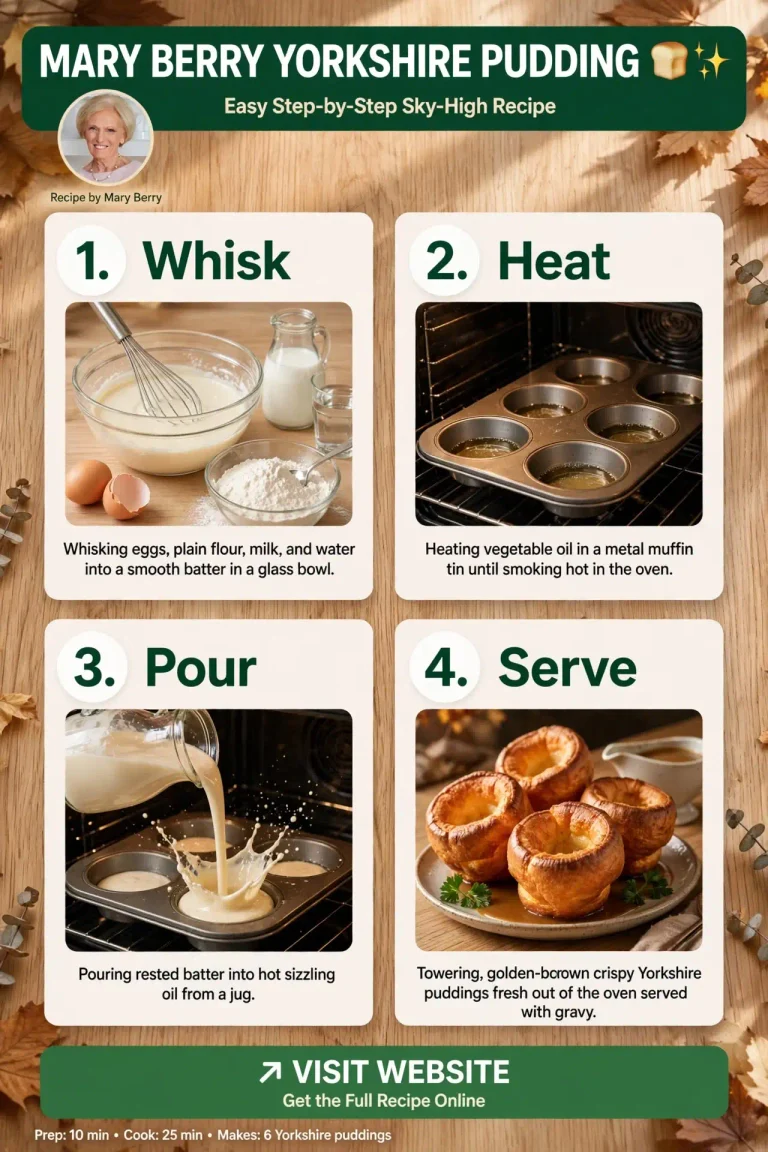
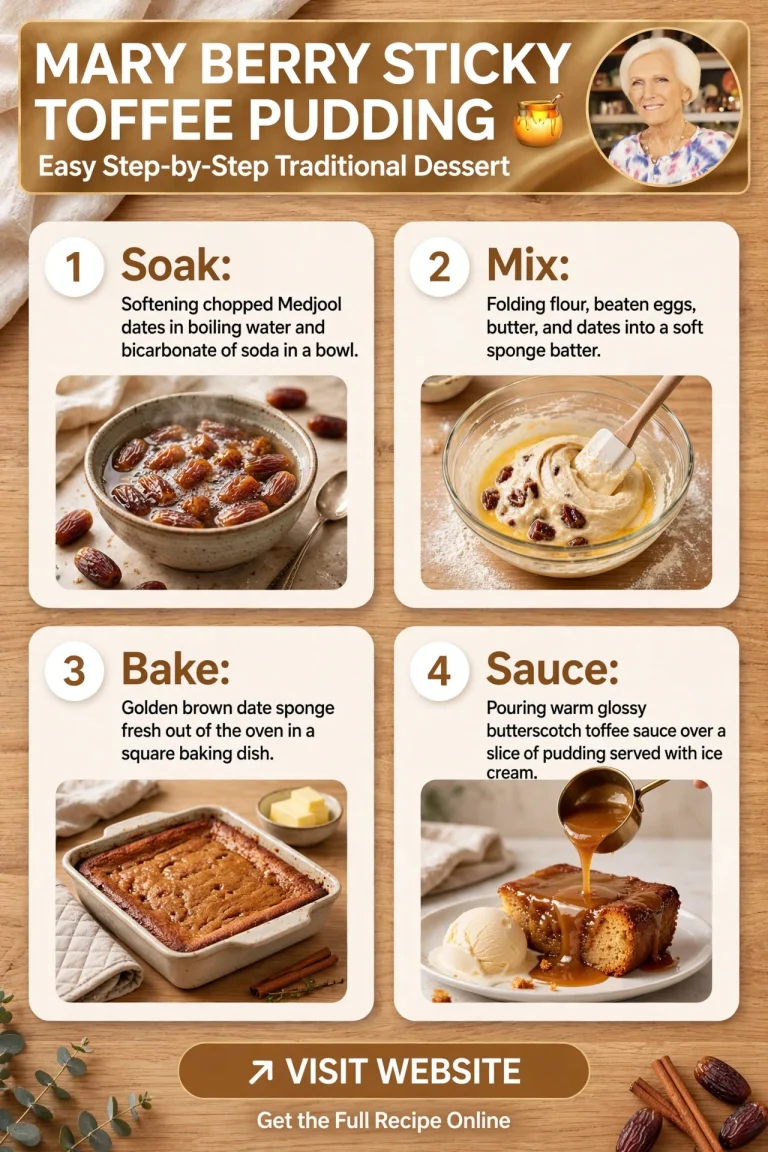
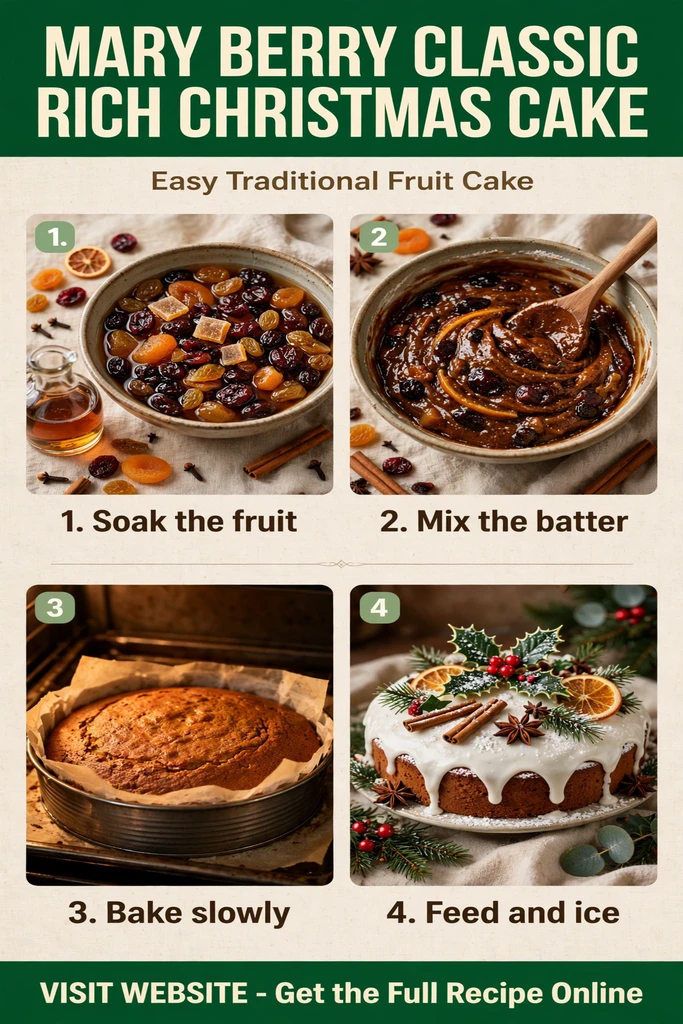
Easy Mary Berry Polka Dot Cake Recipe (Surprise Inside Cake)
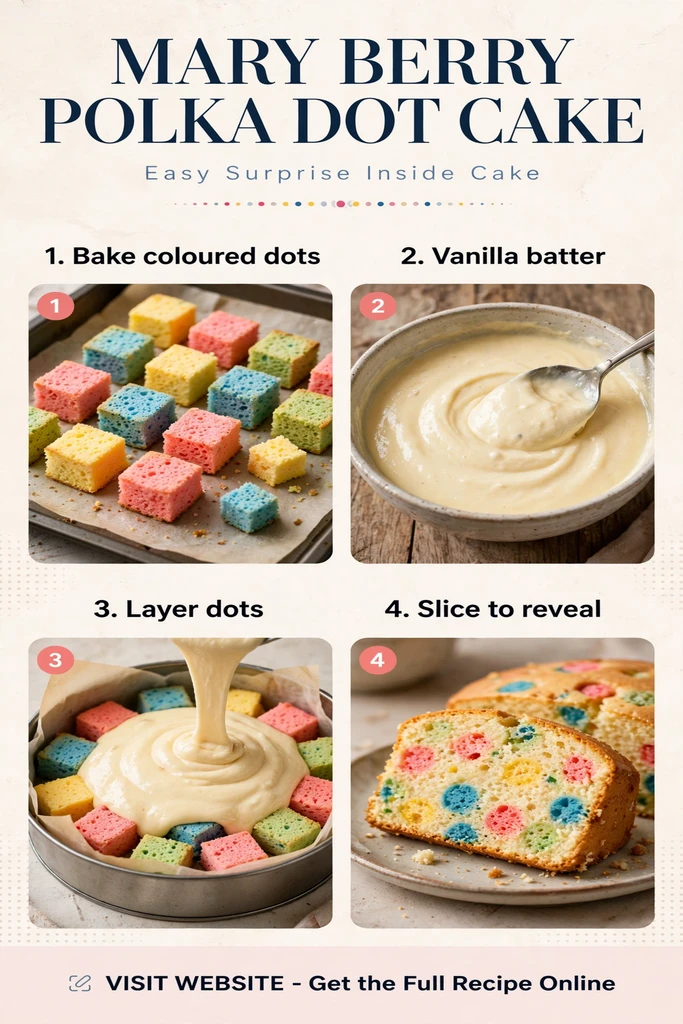
This Mary Berry polka dot cake is a soft vanilla sponge with colourful dots hidden inside every slice. Small coloured sponge pieces are baked first, then placed in the tin and covered with vanilla batter. When you cut the cake, pink, yellow, blue and green dots appear, making it perfect for birthdays and parties. It looks magical, but it is much easier than it looks.
Why You Will Love Mary Berry Polka Dot Cake
This Mary Berry polka dot cake is loved because of the surprise. From the outside it looks like a plain vanilla cake, but every slice reveals bright dots. The sponge is based on Mary Berry’s simple all-in-one method, so the batter is easy, and the coloured dots can be made ahead. Children love choosing the colours, and guests love guessing how the dots got inside.
Ingredients for Mary Berry Polka Dot Cake
The coloured dots:
- 100g butter, at room temperature
- 100g caster sugar
- 2 large eggs
- 100g self-raising flour
- Pink, yellow, blue and green food colouring
Main vanilla sponge:
- 225g butter, at room temperature, or baking spread
- 225g caster sugar
- 4 large eggs
- 225g self-raising flour
- 2 teaspoons baking powder
- 1 teaspoon vanilla extract
The icing, if you like:
- 150g butter, softened
- 300g icing sugar, sifted
- 2 tablespoons milk
Step-by-Step Guide to Making Polka Dot Cake
Step 1: Bake the coloured dots. Preheat the oven to 180C (160C fan / Gas 4). Line a small traybake tin with baking paper. Beat the butter, sugar, eggs and flour for the dots until smooth. Divide the batter into 4 bowls and colour each one pink, yellow, blue or green. Spoon the colours into the tin in separate patches, bake for 12 to 15 minutes until springy, cool, then cut into small 2cm cubes.
Step 2: Make the vanilla batter. Grease and line a 20cm round cake tin. Put the butter, caster sugar, eggs, self-raising flour, baking powder and vanilla extract into a large bowl. Beat until combined and soft, with a dropping consistency. Do not overmix.
Step 3: Layer dots and batter. Spoon a little vanilla batter into the tin. Scatter coloured sponge cubes over the batter, then spoon over more batter. Repeat until all the dots and batter are used, ending with batter on top. Level the top gently.
Step 4: Bake until golden. Bake for 25 to 30 minutes, until golden, springy to touch, and a skewer in the vanilla sponge comes out clean. Leave in the tin for 10 minutes, then turn out onto a wire rack to cool completely.
Step 5: Finally, ice and slice. If you like, beat the butter, icing sugar and milk into a smooth buttercream and spread it over the cooled cake. Slice the cake to reveal the polka dots inside, and serve.
Cook’s Secrets for a Perfect Polka Dot Cake
Use gel food colouring for bright dots, as liquid colouring can thin the batter. Cut the coloured sponge into small, even cubes, so the dots spread nicely through the cake. Do not stir the dots into the batter, as this can break them and mix the colours. Spoon the batter gently over the dots, so they stay in place. Finally, cool the cake completely before slicing, so the dots show cleanly.
Frequently Asked Questions
Can I make Mary Berry polka dot cake in advance? Yes. Bake the coloured dots a day ahead and keep them wrapped. The finished cake keeps for 2 to 3 days in an airtight tin.
Can I use different colours? Of course. Use any colours you like, for a party theme, a rainbow theme, or a single colour for a simpler look.
Can children help make this cake? Absolutely. Children love colouring the batter and placing the dots. An adult should handle the oven and hot tins.
Do I need to ice polka dot cake? No. It is lovely plain with a dusting of icing sugar, and the surprise is inside. Buttercream makes it richer and more festive.
Conclusion: Enjoy Your Mary Berry Polka Dot Cake
In the end, this Mary Berry polka dot cake is soft, bright and full of surprise. Vanilla sponge with colourful dots inside makes a cake that is perfect for birthdays and parties. Bake it, slice it, and enjoy the reveal.